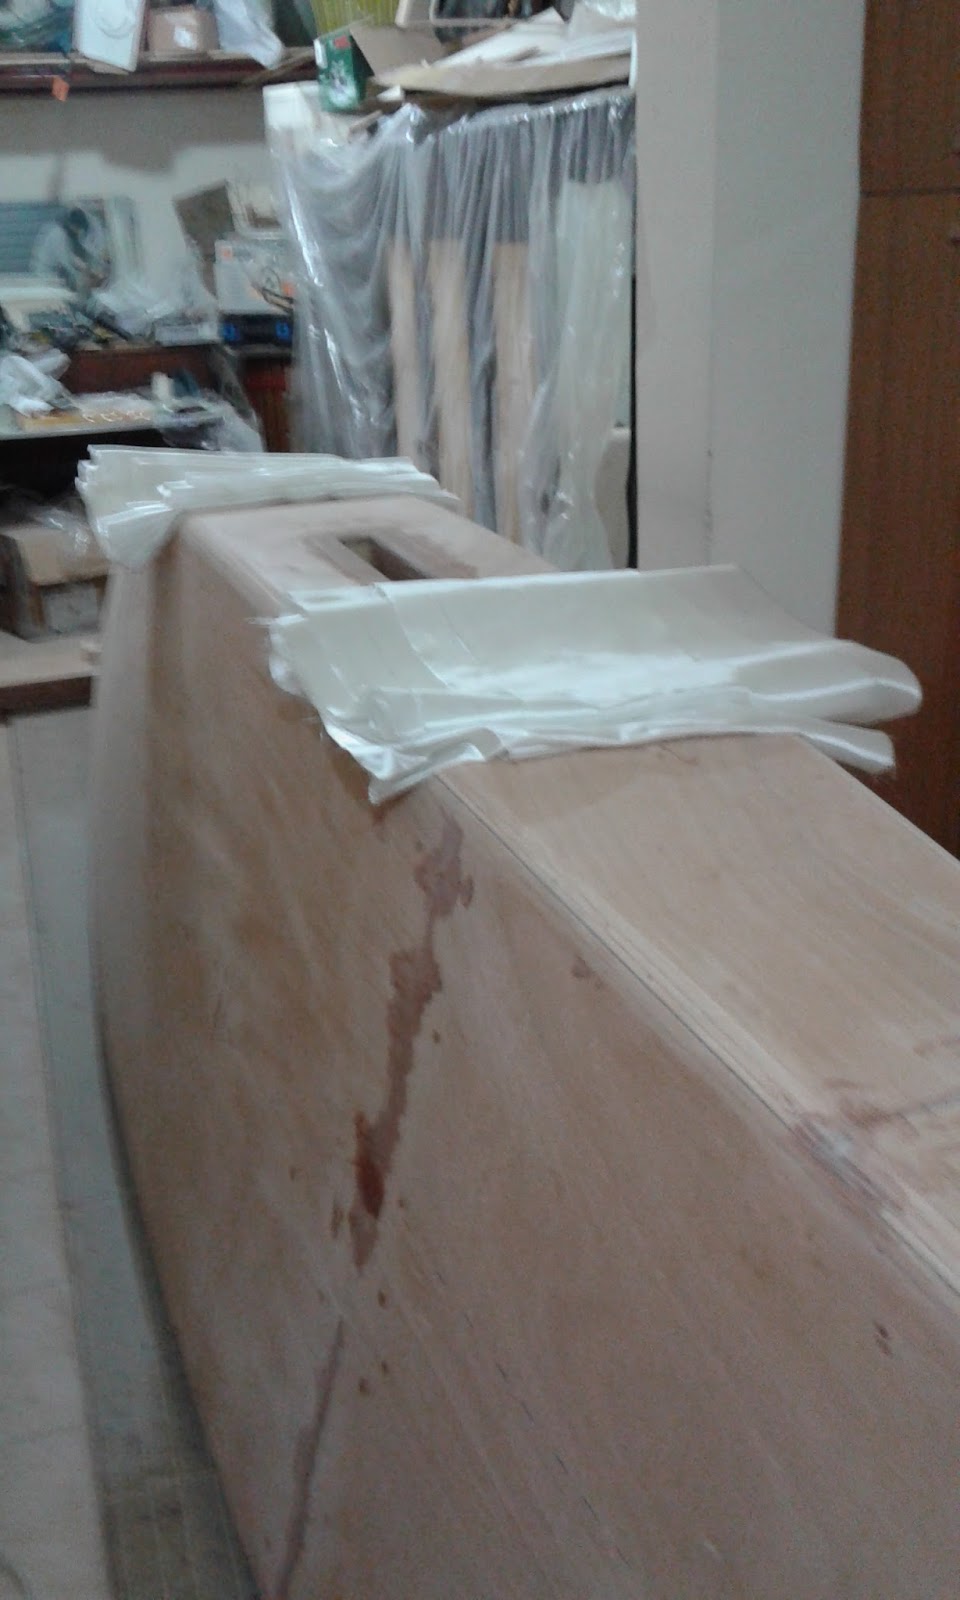
Three more hours today to scribe and cut plywood. Here's a pic of the forward deck, roughly curt from 12 mm plywwod.
And here is the last plywood panel on the boat to scribe the rear deck. At this time we've used all available panels and can only use offcuts from now on (but we should be almost done by now...)
We then scribed and cut the two doublers
Here is a final view
Total work time to date:374 hours
Monday, December 7, 2015
Sunday, December 6, 2015
Decking the vaka (1)
Four hours yesterday (saturday) in which we started to work to glue the deck on the main hull (vaka).
We first planed the deck stringers flat mostly with the power planer and sanding board, checking the planarity with a straightedge.
We then scribed the shape of the forward deck on a 12 mm plywood panel
This deck has a particular shape since it protrudes about 12 cm past the gunwale from the stem back to the forward aka. These two "wings" are then doubled in thickness for the whole length. Here we are intent to draw a fair curve. Luckily enough Cinzia's mom is a seamstress so she has all the equipment to draw fancy shapes...
Total work time to date: 371 hours
Saturday, November 28, 2015
Glueing stuff
Two hours today to glue the stem doubler and the OB motor mount supports. We used more than half kg of thickened resin.
Here's the stem doubler for which we used a temporary screw since a clamp cannot reach down there
and here are the two supports for the OB motor mount, cut from 20 mm plywood and glued to the hull sides
Here we used a stud forced between the two sides to keep the pieces against the hull.
Total work time to date: 367 hours
Here's the stem doubler for which we used a temporary screw since a clamp cannot reach down there
and here are the two supports for the OB motor mount, cut from 20 mm plywood and glued to the hull sides
Here we used a stud forced between the two sides to keep the pieces against the hull.
Total work time to date: 367 hours
Monday, November 23, 2015
Stem doubler
Two more hours today on the stem doubler. This is not considered (as it should) in the early stages of construction, nor is it present on all drawings. Other drawings show a stem cap... anyway, it is there to allow enough thickness to bore a hole for the forestay eyebolt.
The stem doubler has a tricky shape due to the various angles. Here is what we came up with
Next time we'll glue everything.
Total work time to date: 365 hours
The stem doubler has a tricky shape due to the various angles. Here is what we came up with
Next time we'll glue everything.
Total work time to date: 365 hours
Saturday, November 21, 2015
OB motor mount
Last night, with the help of our friend Raffaele, we turned the boat rightside up again to work on the deck. This was easier than I had imagined even if the boat is now much heavier than before because we installed the bottom and the massive centerboard trunk.
Before decking the boat though we have to install the OB motor mount, which is a 2x6 which protrudes through the hull on the starboard side just abaft of the aft aka. It was quite stressing to cut a rectangular opening through the hull, but here is the whole thing ready to be glued and filleted.
Total work time to date: 363 hours
Before decking the boat though we have to install the OB motor mount, which is a 2x6 which protrudes through the hull on the starboard side just abaft of the aft aka. It was quite stressing to cut a rectangular opening through the hull, but here is the whole thing ready to be glued and filleted.
Total work time to date: 363 hours
Sunday, November 15, 2015
Vaka bottom glassed
Three hours today to glass the vaka bottom.
Here's a pic showing the fiberglass in place. We decided to use 2 layers of 160 g/sq.m. cloth: the first goes 5 cm past the chines, the second 10 cm.
And here it is after wetting out with resin. We prepared about 900 grams of resin and used a roller and a squeegee to spread it.
Total work time to date: 360 hours
Here's a pic showing the fiberglass in place. We decided to use 2 layers of 160 g/sq.m. cloth: the first goes 5 cm past the chines, the second 10 cm.
And here it is after wetting out with resin. We prepared about 900 grams of resin and used a roller and a squeegee to spread it.
Total work time to date: 360 hours
Saturday, November 14, 2015
Waterline, fiberglass
Three hours today. We first used a laser level to strike a waterline on the hull. The are no offsets on the plans, so everything should be measured on the drawings (scale 1:12).
As already noted, the plans mention two waterlines, one at 28 cm and the other 36 cm (canoe body draft), but only the latter is drawn. That's the one that we marked on the hull.
We then went upstairs and used Cinzia's living room to draw the shape of the bottom on the fiberglass cloth. We'll laminate two layers which will cover the chines by 5 and 10 cm respectively. We tried to save as much cloth as possible optimizing the nesting.
And here are the two sheets ready to be laminated on the bottom.
Total work time to date: 357 hours
As already noted, the plans mention two waterlines, one at 28 cm and the other 36 cm (canoe body draft), but only the latter is drawn. That's the one that we marked on the hull.
We then went upstairs and used Cinzia's living room to draw the shape of the bottom on the fiberglass cloth. We'll laminate two layers which will cover the chines by 5 and 10 cm respectively. We tried to save as much cloth as possible optimizing the nesting.
And here are the two sheets ready to be laminated on the bottom.
Total work time to date: 357 hours
Subscribe to:
Posts (Atom)