Saturday, December 21, 2013

Main hull floor panels

Back to the shop for 4 hours today. We redrew and cut the main hull floor panels from 10 mm thick plywood. This proved trickier than expected. First of all, the suggested nesting diagram is a very tight fit for the forward and mid floor panels, as shown in the photo below. Consider also that our panels are 6 cm longer than the standard length (2.50 m vs. 2.44 m), so the fit on a standard panel will be even worse.


Moreover, we found several "off" points which caused evident unfair spots on the curves. In particular, the width at the transom end of the floor panel seems about 1 cm too large per side. So we deduced the width both from the drawings and from the real transom and were able to produce a fair curve. I really hope we did it right, but we'll be able to verify this only during the main hull set up.
Here's a picture of the whole main hull floor


We're still waiting for the lumber from the sawmill...

Total work time to date: 27 hours

Tuesday, December 3, 2013

Back to the boat (slowly)

Last saturday (Nov. 30th) we worked 3 more hours. To be fair, I should say that we spent 3 more hours in the shop, but a lot of time was devoted to study plans to decide which parts we should cut next before starting to assemble the hulls. This is not as obvious as it seems: hull bottoms and decks have to be traced from the assembled hulls (albeit the float decks are drawn with dimensions on the plans). Apparently the only remaining hull piece to be cut beforehand is the main hull floor. We traced the mid section on a 10 mm panel only to discover that we have to retrace it backwards because otherwise the forward section wouldn't fit on the same panel. Moreover, we discovered that the false transom must be cut from the 19 mm thick sheet while we cut ours together with the other bulkheads from the 6 mm. Oh well.
Today we went in a local sawmill to check the availability of proper lumber for the stringers and the akas. It looks like we found some good material so we'll place an order shortly after translating the bill of materials in metric units. Also, we found a good source of epoxy resin at decent prices, so wel'll place an order very soon. Here's a photo taken in the lumberyard showing good quality 5 cm think fir planks to be used to build the akas.


Total work time to date: 23 hours

Wednesday, November 6, 2013

Cutting the main hull panels

Just one more hour in the shop this evening to cut the main hull panels which we drew last night. But first we drew the floor stringer line heights on the top panel and transferred them to the bottom one drilling small holes through both. Here's a view of the half done work


while here's me cutting the sheer


and finally a view of the complete main hull panels still stacked and screwed to the table


Those panels are big for sure! Finally, the various sections were unscrewed from the table and set apart.
Tomorrow we'll fly to Japan for a conference and will be back in a couple of weeks.

Total work time to date: 20 hours

Drawing the main hull panels

Two hours of work last evening. We cut to size, stacked, aligned and screwed to the table 6 plywood sheets in 2 layers for the two main hull side panels. Alignment needs care, and we used a laser pointer to make sure that the sheets were properly aligned. This is important because we use the long side of the sheets as baseline for the measurements... Once the alignment was called good, we drew the panel shape using the measurements given on the plans. The curves were smooth enough without any adjustement. Tomorrow we'll cut the panels, and then we'll stop for a couple of weeks due to a business trip in Japan.


Total work time to date: 19 hours

Sunday, November 3, 2013

Cutting the ama hull panels

3 hours of work today. Cutting the panels took about two hours. We used our small circular saw with a 85 mm diameter blade. The laser pointer helps to cut precisely, but the cutting speed is slow and okoume' sawdust flies everywhere: however we both wear glasses and since dust masks are very uncomfortable we do not use those.


By the time we had just started to cut the second panel, the first blade went dull and started to produce smoke and darker sawdust, so we replaced it.


The new blade allowed us to complete the cutting operation. We also tried to use the big circular saw, but it's a bit scary and more difficult to control so we went back to the small one. Here's an "aerial" view of the ama hull panels, completely cut but still screwed to the table while the offcuts have been removed. On the left are the two stacked outboard panels, on the right the two inboard ones. Remember that we cut all ama panels in one operations, so what you see are actually all four ama hull panels (two layers per side).


All section have been marked, unscrewed from the table and set apart. Then we spent about one hour to clean up the shop and put the remaining 6 mm panels (6 of them, again in two layers) on the table, ready to start the main hull panels. Here's a bunch of plywood offcuts at the end of the day:


Total work time to date: 17 hours

Friday, November 1, 2013

Drawing the ama hull panels

November 1st is an holiday in Italy, so we managed to work 5 more hours. Following the building instructions and the plans, we cut to the specified lengths 6 plywood panels (6 mm thick), aligned and screwed them on the flat out table, stacked in two layers. Here's yours truly cutting the plywood with a noisy small circular saw.


In such a way, one draws the panel shapes on the top layer only, and then cuts through both layers. The ama hulls are asymmetric, so the inboard and outboard hull panels are different. Here is the whole lot already aligned and secured to the table top. This operation took a bit longer than expected since the plywood panels might not be exactly identical, so butting and stacking needs quite a bit of adjustments before screwing everything down.


Next step is drawing the shapes of the panels. This involves drawing the stations and then marking the specified heights (sheer, chine) on each. Then, using a spline (we used a 2 cm wide strip of 12 mm plywood) touching small nails driven in the plywood at each height, the curve is first checked for fairness (we had to move one point by about 2 mm) and finally drawn on the plywood. Here's Cinzia at it


At the end, we have two nice fair panel shapes ready to be cut. By the way, looking at the size of these panels one starts to have an idea of the size of the boat! Here is the aft end of the ama panels, both the inboard (top) and the outboard (bottom). Those panels are almost 5.5 meters long!


Total work time to date: 14 hours

Sunday, October 27, 2013

Cutting the frames

6 hours of work today, to complete the "flat out table" and to cut the frames.Here is the half completed table;


and here it is completed, with Cinzia already trying to keep it clean.


Then we traced the bulkhead shapes from the fullsize patters and cut them using a small circular saw. The amas bulkheads were cut two at a time from two stacked plywood sheets.

Here I am with the first couple of frames (the amas transoms):


And here is the complete set of frames


Next time we'll start to work on the hull panels.

Total work time to date: 9 hours

Sunday, October 20, 2013

Building the "flat out table"

Well, back from a sailing week in Greece, now it looks like we're ready to go. The first sawdust was produced in the morning of October 19th, 2013. Not much: we worked about 3 hours on the "flat out table" which is not yet complete... Here's a view of the "shipyard" minutes before the real start:


On the left is the plywood stack; on the far left there are the particle board sheets and the sawhorses, on the far right, on the floor,  are some 2-by-4 (4.5x9 cm) planks, each 15' (4.5 m) long.
Here I am sawing to length one of the planks which will be butt blocked to a full length one to make the 20' (6m) girders for the flat out table.

Total work time to date: 3 hours

Tuesday, October 1, 2013

Plywood is here!

Press stop: 22 sheets of marine okoumé plywood, 2.50m x 1.22m, in thicknesses fron 6 to 19mm, for a total weight of 230 kg, have been delivered today.

Friday, September 20, 2013

Prologue

The Seaclipper 20 is a beautiful plywood trimaran designed by Jim Brown and John Marples (www.searunner.com). After reading everything available on it on the web (especially on www.smalltrimarans.com: thanks to Joe Farinaccio, the keeper of the flame for small trimarans!), I concluded that this is the best boat for my needs: relatively simple to build and rig, capable of a good turn of speed, able to carry a few friends for a sail, trailerable and beachable.
I've been sailing small multihulls for several years (ranging from the common beach cats to the Supernova trimaran up to a Nacra Formula 18 catamaran) and I am convinced that they are far superior to monohulls, but being almost 55 I start to find sailing the F18 a bit too demanding. So, the Seaclipper 20 seems to be the ideal solution if one wants a spirited boat without the need of going out on the trapeze if the wind is more than 10 knots.
I then ordered a set of plans from John Marples which I received on August 6th: our sail number is 50. The plans are very clear and comprehensive (luckily enough I'm confident with the feet-inch-eighths notation!) and come with a detailed construction manual.
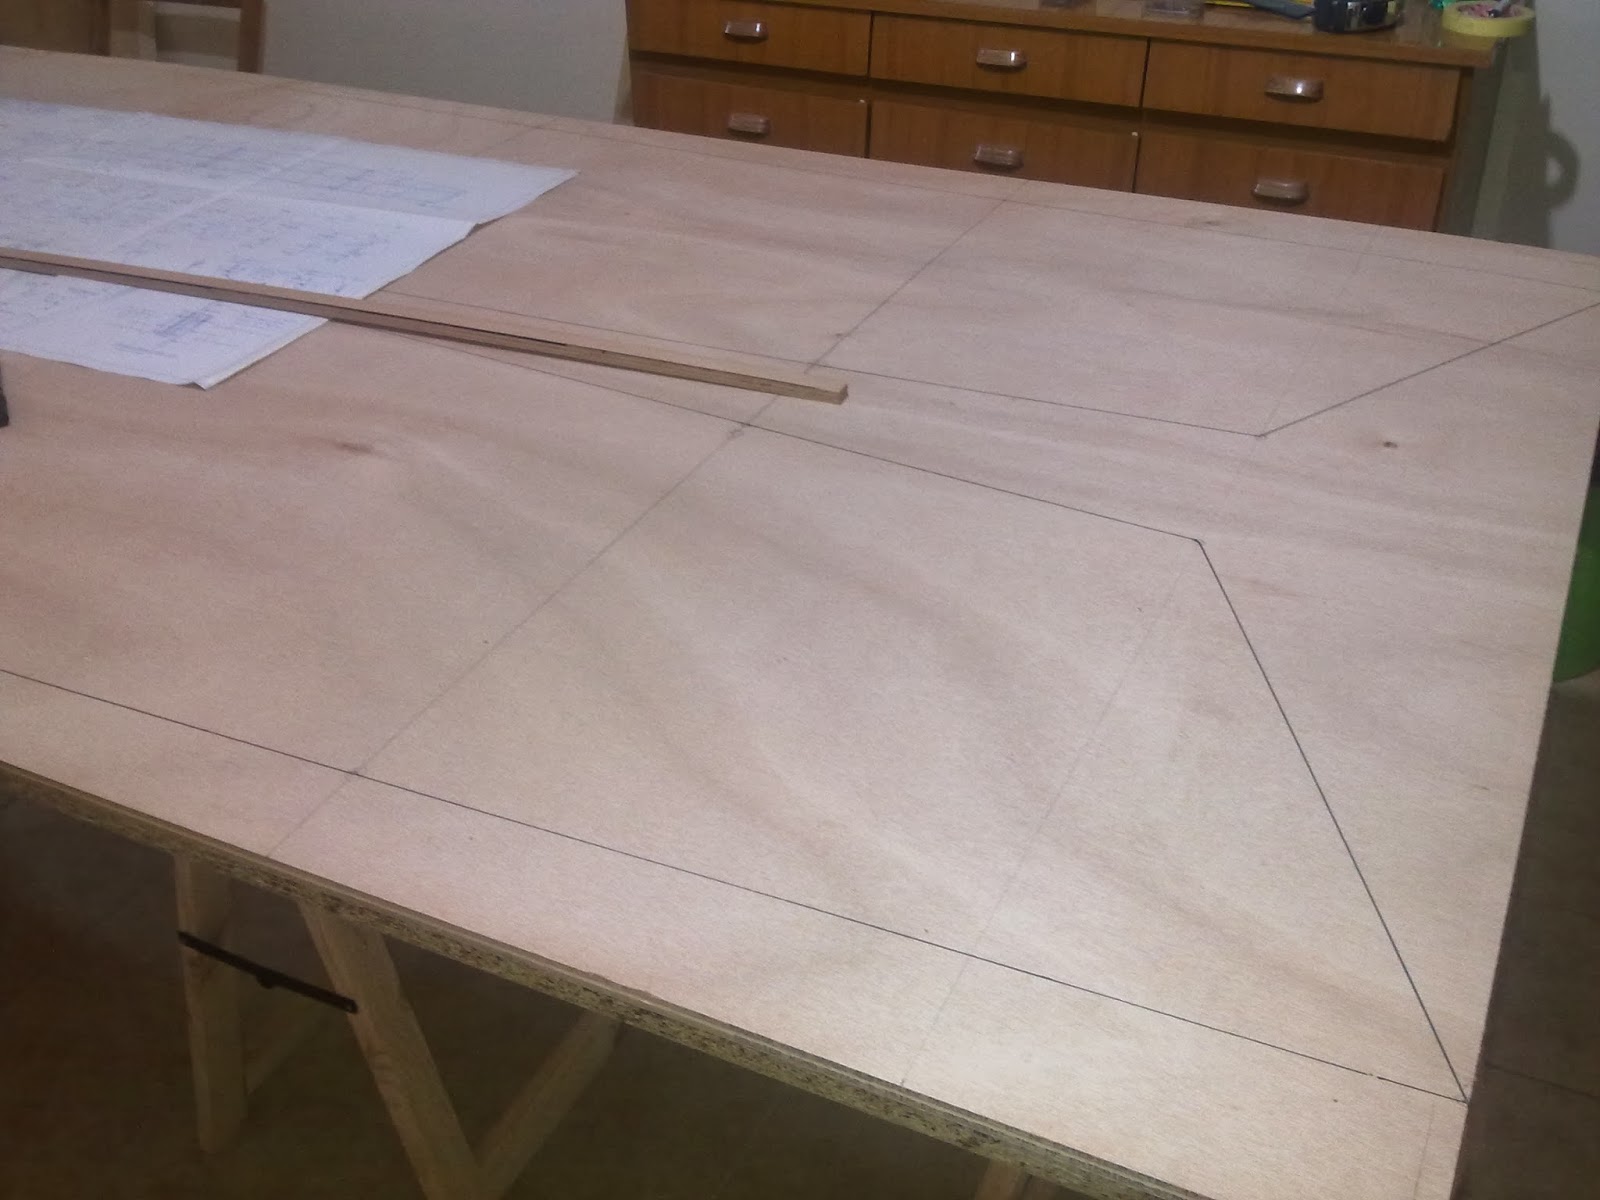
Plywood, as well as the material to build the so-called "flat out table", has been ordered and should arrive at the end of the month. I already have a good experience with plywood/epoxy boat construction, and already have all necessary tools.
I'll be building this boat in association with my long time friend and colleague Cinzia, who is an experienced J24 tailer and has been my crew on the F18 for a few years; other friends have promised to help. The boat will actually be built in Cinzia's garage. Actual construction will start  as soon as raw materials arrive. Stay tuned!