

In such a way, one draws the panel shapes on the top layer only, and then cuts through both layers. The ama hulls are asymmetric, so the inboard and outboard hull panels are different. Here is the whole lot already aligned and secured to the table top. This operation took a bit longer than expected since the plywood panels might not be exactly identical, so butting and stacking needs quite a bit of adjustments before screwing everything down.

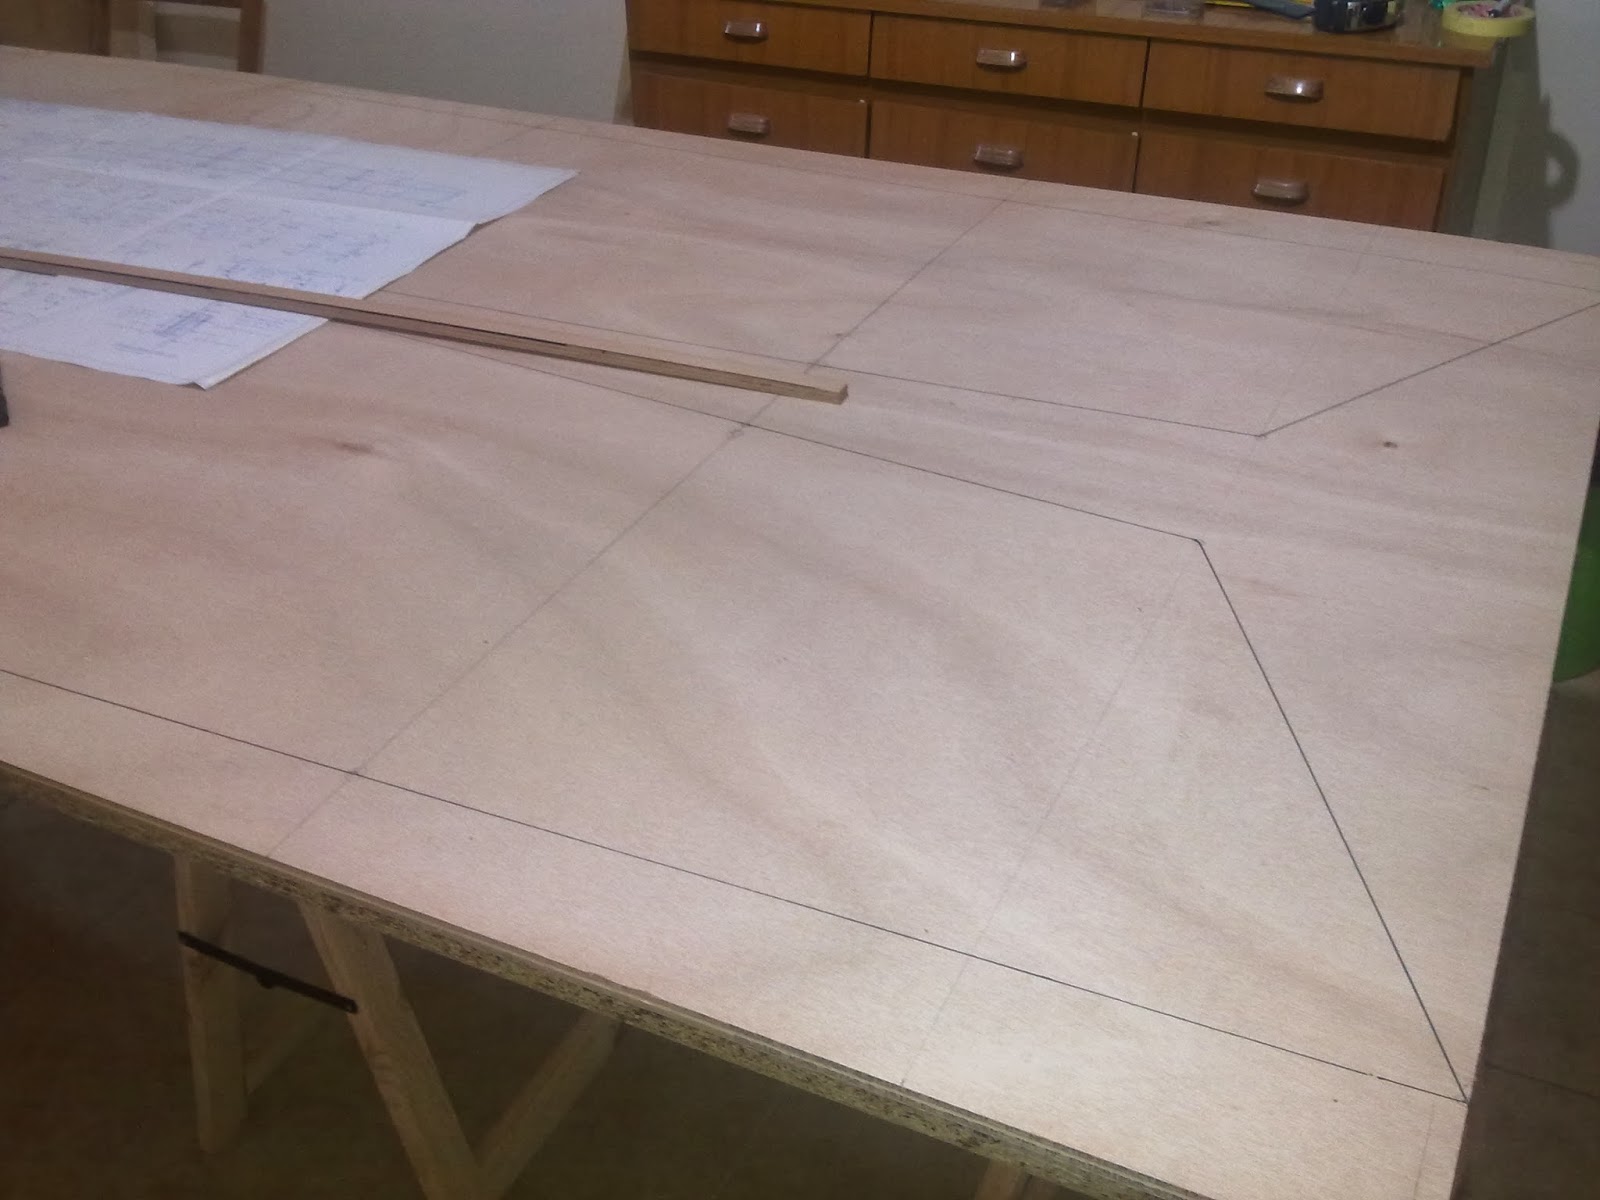
Next step is drawing the shapes of the panels. This involves drawing the stations and then marking the specified heights (sheer, chine) on each. Then, using a spline (we used a 2 cm wide strip of 12 mm plywood) touching small nails driven in the plywood at each height, the curve is first checked for fairness (we had to move one point by about 2 mm) and finally drawn on the plywood. Here's Cinzia at it

At the end, we have two nice fair panel shapes ready to be cut. By the way, looking at the size of these panels one starts to have an idea of the size of the boat! Here is the aft end of the ama panels, both the inboard (top) and the outboard (bottom). Those panels are almost 5.5 meters long!
Total work time to date: 14 hours
No comments:
Post a Comment