Monday, December 7, 2015

Decking the vaka (2)

Three more hours today to scribe and cut plywood. Here's a pic of the forward deck, roughly curt from 12 mm plywwod.


And here is the last plywood panel on the boat to scribe the rear deck. At this time we've used all available panels and can only use offcuts from now on (but we should be almost done by now...)


We then scribed and cut the two doublers


Here is a final view


Total work time to date:374 hours

Sunday, December 6, 2015

Decking the vaka (1)

Four hours yesterday (saturday) in which we started to work to glue the deck on the main hull (vaka).
We first planed the deck stringers flat mostly with the power planer and sanding board, checking the planarity with a straightedge.


We then scribed the shape of the forward deck on a 12 mm plywood panel


This deck has a particular shape since it protrudes about 12 cm past the gunwale from the stem back to the forward aka. These two "wings" are then doubled in thickness for the whole length. Here we are intent to draw a fair curve. Luckily enough Cinzia's mom is a seamstress so she has all the equipment to draw fancy shapes...


Total work time to date: 371 hours

Saturday, November 28, 2015

Glueing stuff

Two hours today to glue the stem doubler and the OB motor mount supports. We used more than half kg of thickened resin.

Here's the stem doubler for which we used a temporary screw since a clamp cannot reach down there


and here are the two supports for the OB motor mount, cut from 20 mm plywood and glued to the hull sides


Here we used a stud forced between the two sides to keep the pieces against the hull.

Total work time to date: 367 hours

Monday, November 23, 2015

Stem doubler

Two more hours today on the stem doubler. This is not considered (as it should) in the early stages of construction, nor is it present on all drawings. Other drawings show a stem cap... anyway, it is there to allow enough thickness to bore a hole for the forestay eyebolt.

The stem doubler has a tricky shape due to the various angles. Here is what we came up with


Next time we'll glue everything.

Total work time to date: 365 hours

Saturday, November 21, 2015

OB motor mount

Last night, with the help of our friend Raffaele, we turned the boat rightside up again to work on the deck. This was easier than I had imagined even if the boat is now much heavier than before because we installed the bottom and the massive centerboard trunk.


Before decking the boat though we have to install the OB motor mount, which is a 2x6 which protrudes through the hull on the starboard side just abaft of the aft aka. It was quite stressing to cut a rectangular opening through the hull, but here is the whole thing ready to be glued and filleted.


Total work time to date: 363 hours

Sunday, November 15, 2015

Vaka bottom glassed

Three hours today to glass the vaka bottom.

Here's a pic showing the fiberglass in place. We decided to use 2 layers of 160 g/sq.m. cloth: the first goes 5 cm past the chines, the second 10 cm.


And here it is after wetting out with resin. We prepared about 900 grams of resin and used a roller and a squeegee to spread it.


Total work time to date: 360 hours

Saturday, November 14, 2015

Waterline, fiberglass

Three hours today. We first used a laser level to strike a waterline on the hull. The are no offsets on the plans, so everything should be measured on the drawings (scale 1:12).


As already noted, the plans mention two waterlines, one at  28 cm and the other 36 cm (canoe body draft), but only the latter is drawn. That's the one that we marked on the hull.

We then went upstairs and used Cinzia's living room to draw the shape of the bottom on the fiberglass cloth. We'll laminate two layers which will cover the chines by 5 and 10 cm respectively. We tried to save as much cloth as possible optimizing the nesting.


And here are the two sheets ready to be laminated on the bottom.

 Total work time to date: 357 hours

Friday, November 13, 2015

FG taping: daggerboard slot

One hour today to FG tape the daggerboard slot. We used our 10 cm wide, 160 g/sq.m. tape


and then peel ply. Going around the corners is tricky though


Tomorrow we'll see how this turned out.

Total work time to date: 354 hours

Sunday, November 8, 2015

Vaka bottom fairing done

Four hours between yesterday and today. We completed the fairing of the vaka chines. Here are two photos that show where we are now. Here is the bottom forward


and here is the daggerboard slot


We also filled several screw holes with thickened resin


We're ready to glass the bottom now. So we had to face the problem of tracing the waterline. The waterline is not parallel to the sheer: the freeboard is almost 16 cm larger at the stem than at the stern. The plans though show two different drafts: one number written on the boat specs is 11 inches (28 cm) but there's another value of 1.17 feet in the lines plan (about 36 cm). I'll ask John Marples about that. We'll need a laser level to trace the line...

Total work time to date: 353 hours

Sunday, November 1, 2015

Still fairing the chines

We missed the past week end due a scientific meeting in our hometown. Problem is that we were the organizers so we really were stuck all day with it from the 24th to the 30th. So we could go back to work on the boat only yesterday morning for 3 hours. Not much to show: again, rasp, Surforms and sanding board. We switched to 120 grit this time, so most of the work is done. We also sanded away epoxy drips, so the main hull is almost ready for fiberglassing

Total work time to date: 349 hours

Sunday, October 18, 2015

Fairing the chines

Two hours on saturday to fair the vaka's chines. Just elbow grease, rasp, Surforms, sanding board (60 and 120 grit).


Here's a view of the centerboard slot which is a bit uncomfortable to work on due to the tight space. We used the power drill with a grinding bit first, and then rasp and sanding paper.


And here's a view of the stem/bottom junction


Total work time to date: 346 hours.

Saturday, October 10, 2015

Main hull: rounding the chines

Two hours today to start rounding the chines of the vaka. The designer recommends to round to a radius of a billiard ball, i.e. about 3 cm. This means removing quite a lot of material from the chine. I used my old power plane set to remove about 1 mm on the first pass, and then finished with 0.5 mm.

Here's the starting situation on one of the chines


and here it is after the first pass (actually several passes). The final depth was such to almost reach the chine log underneath.


On the other chine, at the first butt block, some sparks and strange noises announced a forgotten screw, which I removed with a plier after digging some wood around and warming it up with the soldering iron.


After the power plane, I made a few passes with the long Surform. I produced a huge amount of sawdust


And here's the final result. We're not done yet: we still have to round it better and to fair evrything with the sanding board.


Total work time to date: 344 hours.

Saturday, October 3, 2015

Main hull bottom glued

Five hours of work today. We first prepared the panels, sanding the contact surfaces and boring those along the edges on 15 cm centers for the screws that go into the stringers. Here's a pic of the central panel which also shows the large glueing surface around the centerboard slot.


The central panel was the first to go on. Here is a pic taken just before the lunch break which also shows one of the two, 2 cm thick butt blocks. Also visible are the 14 permanent SS screws (5x40 mm) which go through the 12 mm bottom into the centerboard trunk logs. Pretty strong, isn't it?


In the afternoon we glued the other two panels. In total we prepared about 1 kg of resin thickened with microfibers and some Cabosil. Quite some glue oozed out of the seams which we cleaned, but most probably some oozed also on the inside, and there's nothing we can do with that. At this time, the low half of the boat is hermetically sealed. Once the boat is turned rightside up, we'll install two hatches in the cockpit sole. Here's a view of the hull with the milestone beer.


Total work time to date: 342 hours.

Sunday, September 27, 2015

Main hull bottom planking (4)

Just one hour today to give the second resin coat to the bottom panels. I used for the first time a roller which was MUCH better than the brush or the squeegee!


Total work time to date: 337 hours

Saturday, September 26, 2015

Main hull bottom planking (3)

Three hours of work today. We first faired the two bottom butt blocks to follow the curvature of the hull. Then, using the cardboard copy of the central bottom panel, we cut the centerboard slot on the plywood panel. This operation is not trivial as it may seem. Here's a pic of the panel


We then gave a first coat of resin to the inner faces of the bottom panels, to the centerboard trunk logs and to the floor stiffeners. Tomorrow we'll give the second coat.

Total work time to date: 336 hours

Sunday, September 20, 2015

Main hull bottom planking (2)

Just one hour this morning to check how the glue set overnight. Here's a view of the first (forward) bottom butt block


We then cut the two remaining bottom panels along the scribed lines. Here are all three panels on the hull, not yet glued


Finally, we scribed the central bottom panel outline on a cardboard sheet. We plan to use this to correctly locate the position of the centerboard trunk to properly cut the centerboard hole through the bottom.


Tota work time to date: 333 hours

Saturday, September 19, 2015

Main hull bottom planking (1)

Five hours of work today. We first faired the daggerboard trunk logs to match the bottom curvature. Here's the result after several passes of power plane, surform and sanding board and frequent checkings with a straightedge


We then roughly cut three pieces of 12 mm plywood for the bottom. Here they are in place to scribe the bottom outline


and here we are ready to cut the central bottom panel


In the picture above you can also see the two butt blocks to join the three pieces of the bottom planking. The final photo shows the two butt blocks being glued to the central bottom panel.


Total work time to date: 332 hours

Tuesday, September 15, 2015

Daggerboard trunk bottom framing

Two more hours between last sunday and monday to complete the glueing of the remaining framing blocks around the bottom side of the daggerboard trunk. This is going to be the strongest part of the boat. To be honest, seems a bit overkill to me...

Here are the filling blocks between the two trunk logs


Here's the second log being glued


and here's the finished job as it looked this morning.


We'll have now to fair everything flush with the bottom stringers, and then we'll be able to put the bottom on.

Total work time to date: 327 hours

Saturday, September 12, 2015

Here we go again

At last Cinzia came back from her endless vacations so today we spent 3 hours on the boat.
We first cut the protruding part of the daggerboard trunk. The two posts were cut with the handsaw, while for the walls we succeeded in using the jigsaw.

We then first faired the hull bottom stringers, and then the trunk to be flush with them


Finally, we glued one of the two heavy logs (to which the bottom will be screwed later).


Today we started using the new epoxy resin: we'll see how it goes.

Total work time to date: 325 hours

Wednesday, August 26, 2015

Daggerboard and trunk

Four hours today in the shop. I first realized an idea I had to correctly streamline the daggerboard. Given thickness and width (35mm x 405 mm) I computed the relevant NACA profile on this web page:

http://airfoiltools.com/airfoil/naca4digit

and converted it in real world measurements


Then, using the circular saw, I made cuts following the table I had previously computed which gives distance from the board edge and depth. Those cuts will guide us when we'll start to remove wood wid the power plane.


I did the same on the opposite side but I'm sure I screwed up something because it's very easy to make mistakes when it comes to properly position the saw w.r.t. the edge. For instance one has to take into account the thickness of the blade when cutting on the leading side or on the trailing side. No big deal but I'll have to think about that.
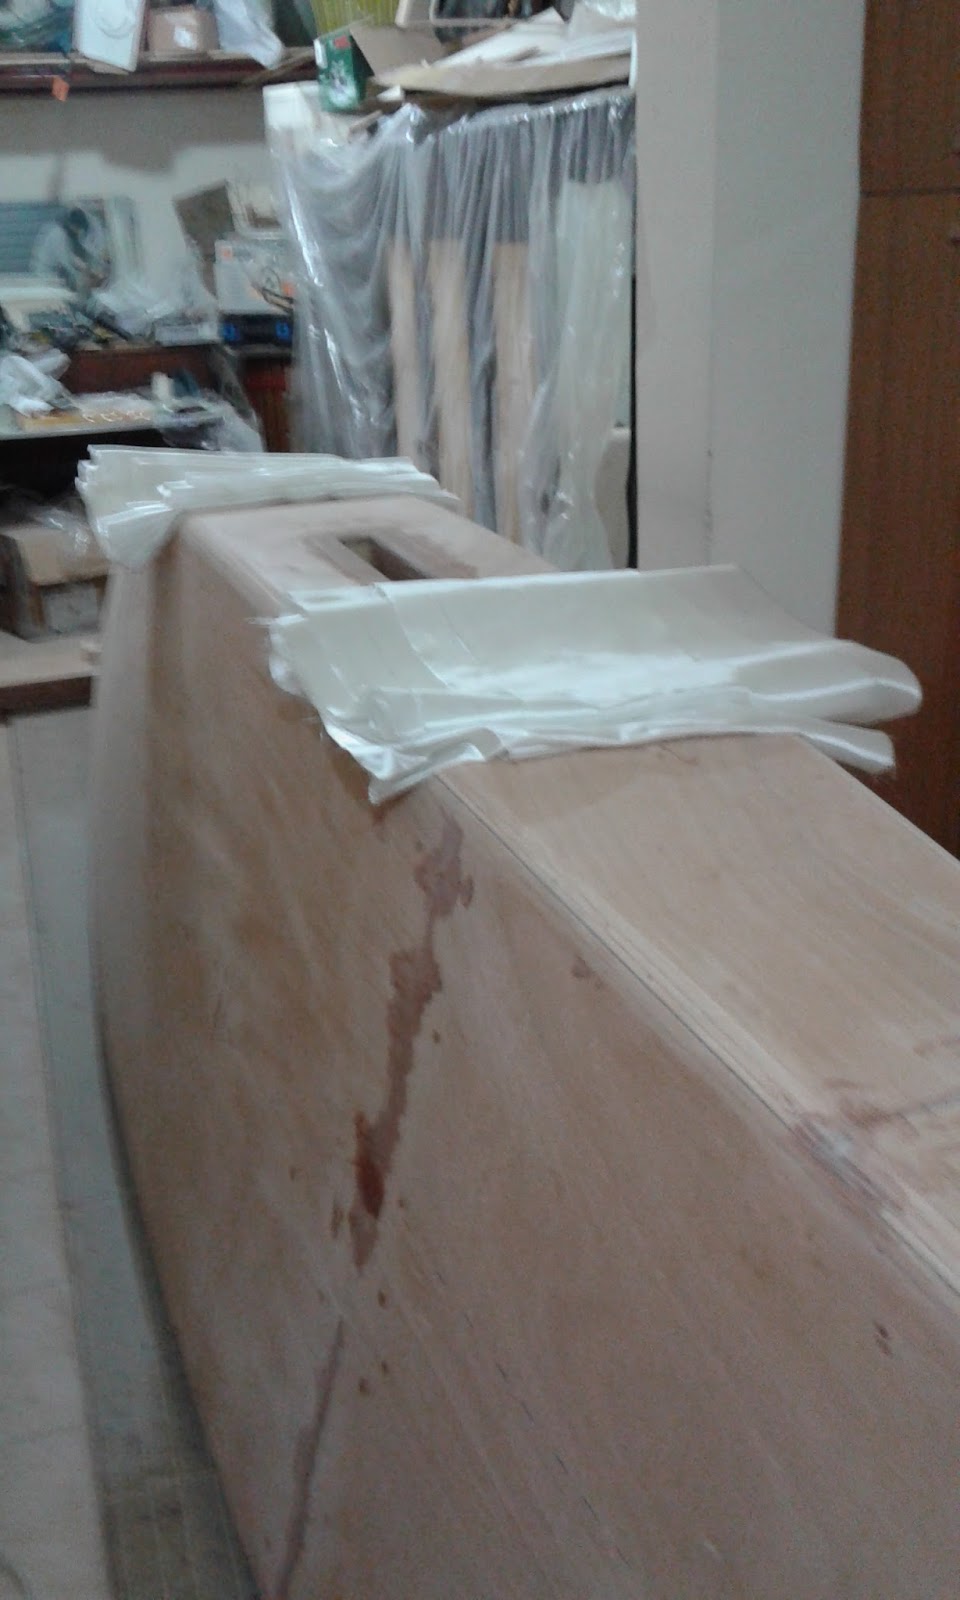
I then scribed the protruding part of the daggerboard trunk using some scrap plywood.


Cutting that stuff though won't be very easy because there's no elbow room in the inverted hull, so we'll have to use a small hand saw and a lot of elbow grease.

Total work time to date: 322 hours